Why Drill a Well?
Have you ever imagined having your own endless water supply, right in your backyard? That’s what drilling a well offers—freedom, sustainability, and a direct connection to one of nature’s most vital resources. And no monthly bill! But it’s more than just digging a hole and waiting for water to pour out; it’s a process that requires precision, planning, and a bit of know-how. If you’ve ever wondered how to get started on drilling a well, buckle up! We’re diving into the ins and outs of this age-old method of water sourcing.
The Importance of Self-Sufficiency
There’s something undeniably empowering about self-sufficiency. With your own well, you’re no longer tied to city water supplies or vulnerable to drought restrictions. Whether you’re in a rural area without access to municipal water, or simply want a backup for emergencies, a well gives you that extra peace of mind. It’s all about gaining control over one of life’s essentials—water.
Wells as a Sustainable Water Source
Not only do wells provide a consistent water source, but they’re also environmentally friendly. By tapping into groundwater, wells reduce the strain on public water systems, and in many cases, well water is cleaner and requires less treatment. If sustainability is on your radar, drilling a well is a big step in the right direction.
Who Needs a Well?
Wells are common in rural areas, where city water lines don’t reach, but even suburban homeowners can benefit from drilling a well. Farmers, homesteaders, or anyone with a large property looking to maintain a sustainable garden or farm often turn to wells for irrigation. If you’ve got space and the desire for self-reliance, a well could be your next big project.
The Initial Survey and Site Selection
Before you even think about breaking ground, it’s crucial to figure out where your well should go. The process starts with a survey and site selection—because not all spots are created equal when it comes to tapping into water.
How to Determine the Best Location for a Well
You can’t just dig anywhere and hope for water. Choosing the right spot involves understanding the land and its geological features. A professional surveyor will evaluate factors such as the depth of the water table, soil composition, and proximity to potential sources of contamination. Water needs to flow from a safe, clean source. After all, no one wants a well too close to a septic tank! Luckily, you will likely find local building departments have distance requirements for wells and septic locations so they don’t end up too close to each other.
Factors Like Water Tables and Soil Composition
The water table—the level below ground where water is found—varies depending on your region. Areas with a higher water table might not need as deep a well, while areas with clay or rocky soils could pose more of a challenge. A proper survey ensures you drill deep enough to hit a reliable, clean water source.
Legal Permits and Regulations
Drilling a well isn’t just a case of ‘find the spot, start digging.’ Depending on where you live, you’ll likely need permits. Local regulations are in place to protect groundwater resources, and they vary by location, so it’s important to check with your local authorities before drilling.
Types of Wells and Drilling Methods
Now that you’ve got a prime location, it’s time to decide what type of well you need and how you’ll drill it. The method you choose will depend on the depth of the water table and the ground you’re working with.
Common Types of Wells
There are two main types of wells: dug wells and drilled wells. Dug wells are shallow and typically hand-excavated, making them less costly but also more prone to contamination. Drilled wells, on the other hand, are deeper and more secure, ensuring a steady supply of water with less risk of surface contamination.
Dug Wells vs. Drilled Wells
Dug wells may be suitable for areas with a high water table, but they’re old-fashioned and can run dry more easily. Drilled wells are the modern solution, reaching far deeper into the ground and accessing more reliable water sources. While drilling is more expensive, it’s worth the investment for long-term use.
Rotary Drilling and Cable Tool Drilling
When it comes to drilling, there are two primary methods: rotary drilling and cable tool drilling. Rotary drilling is fast and uses a rotating drill bit to break through the ground, while cable tool drilling is slower and uses a heavy bit to pound through rock layers. Rotary drilling is the go-to for most residential wells because it’s efficient and can reach deep water quickly.
The Well Drilling Process
Drilling a well is a step-by-step process that requires careful planning and execution. Let’s walk through the main stages, from preparation to water flow.
Preparing the Site
Once you’ve picked the spot, preparation begins. The drilling company will bring in heavy equipment and clear the area, making sure there’s enough space for machinery. They’ll also ensure there’s access to electricity or fuel to power the drill.
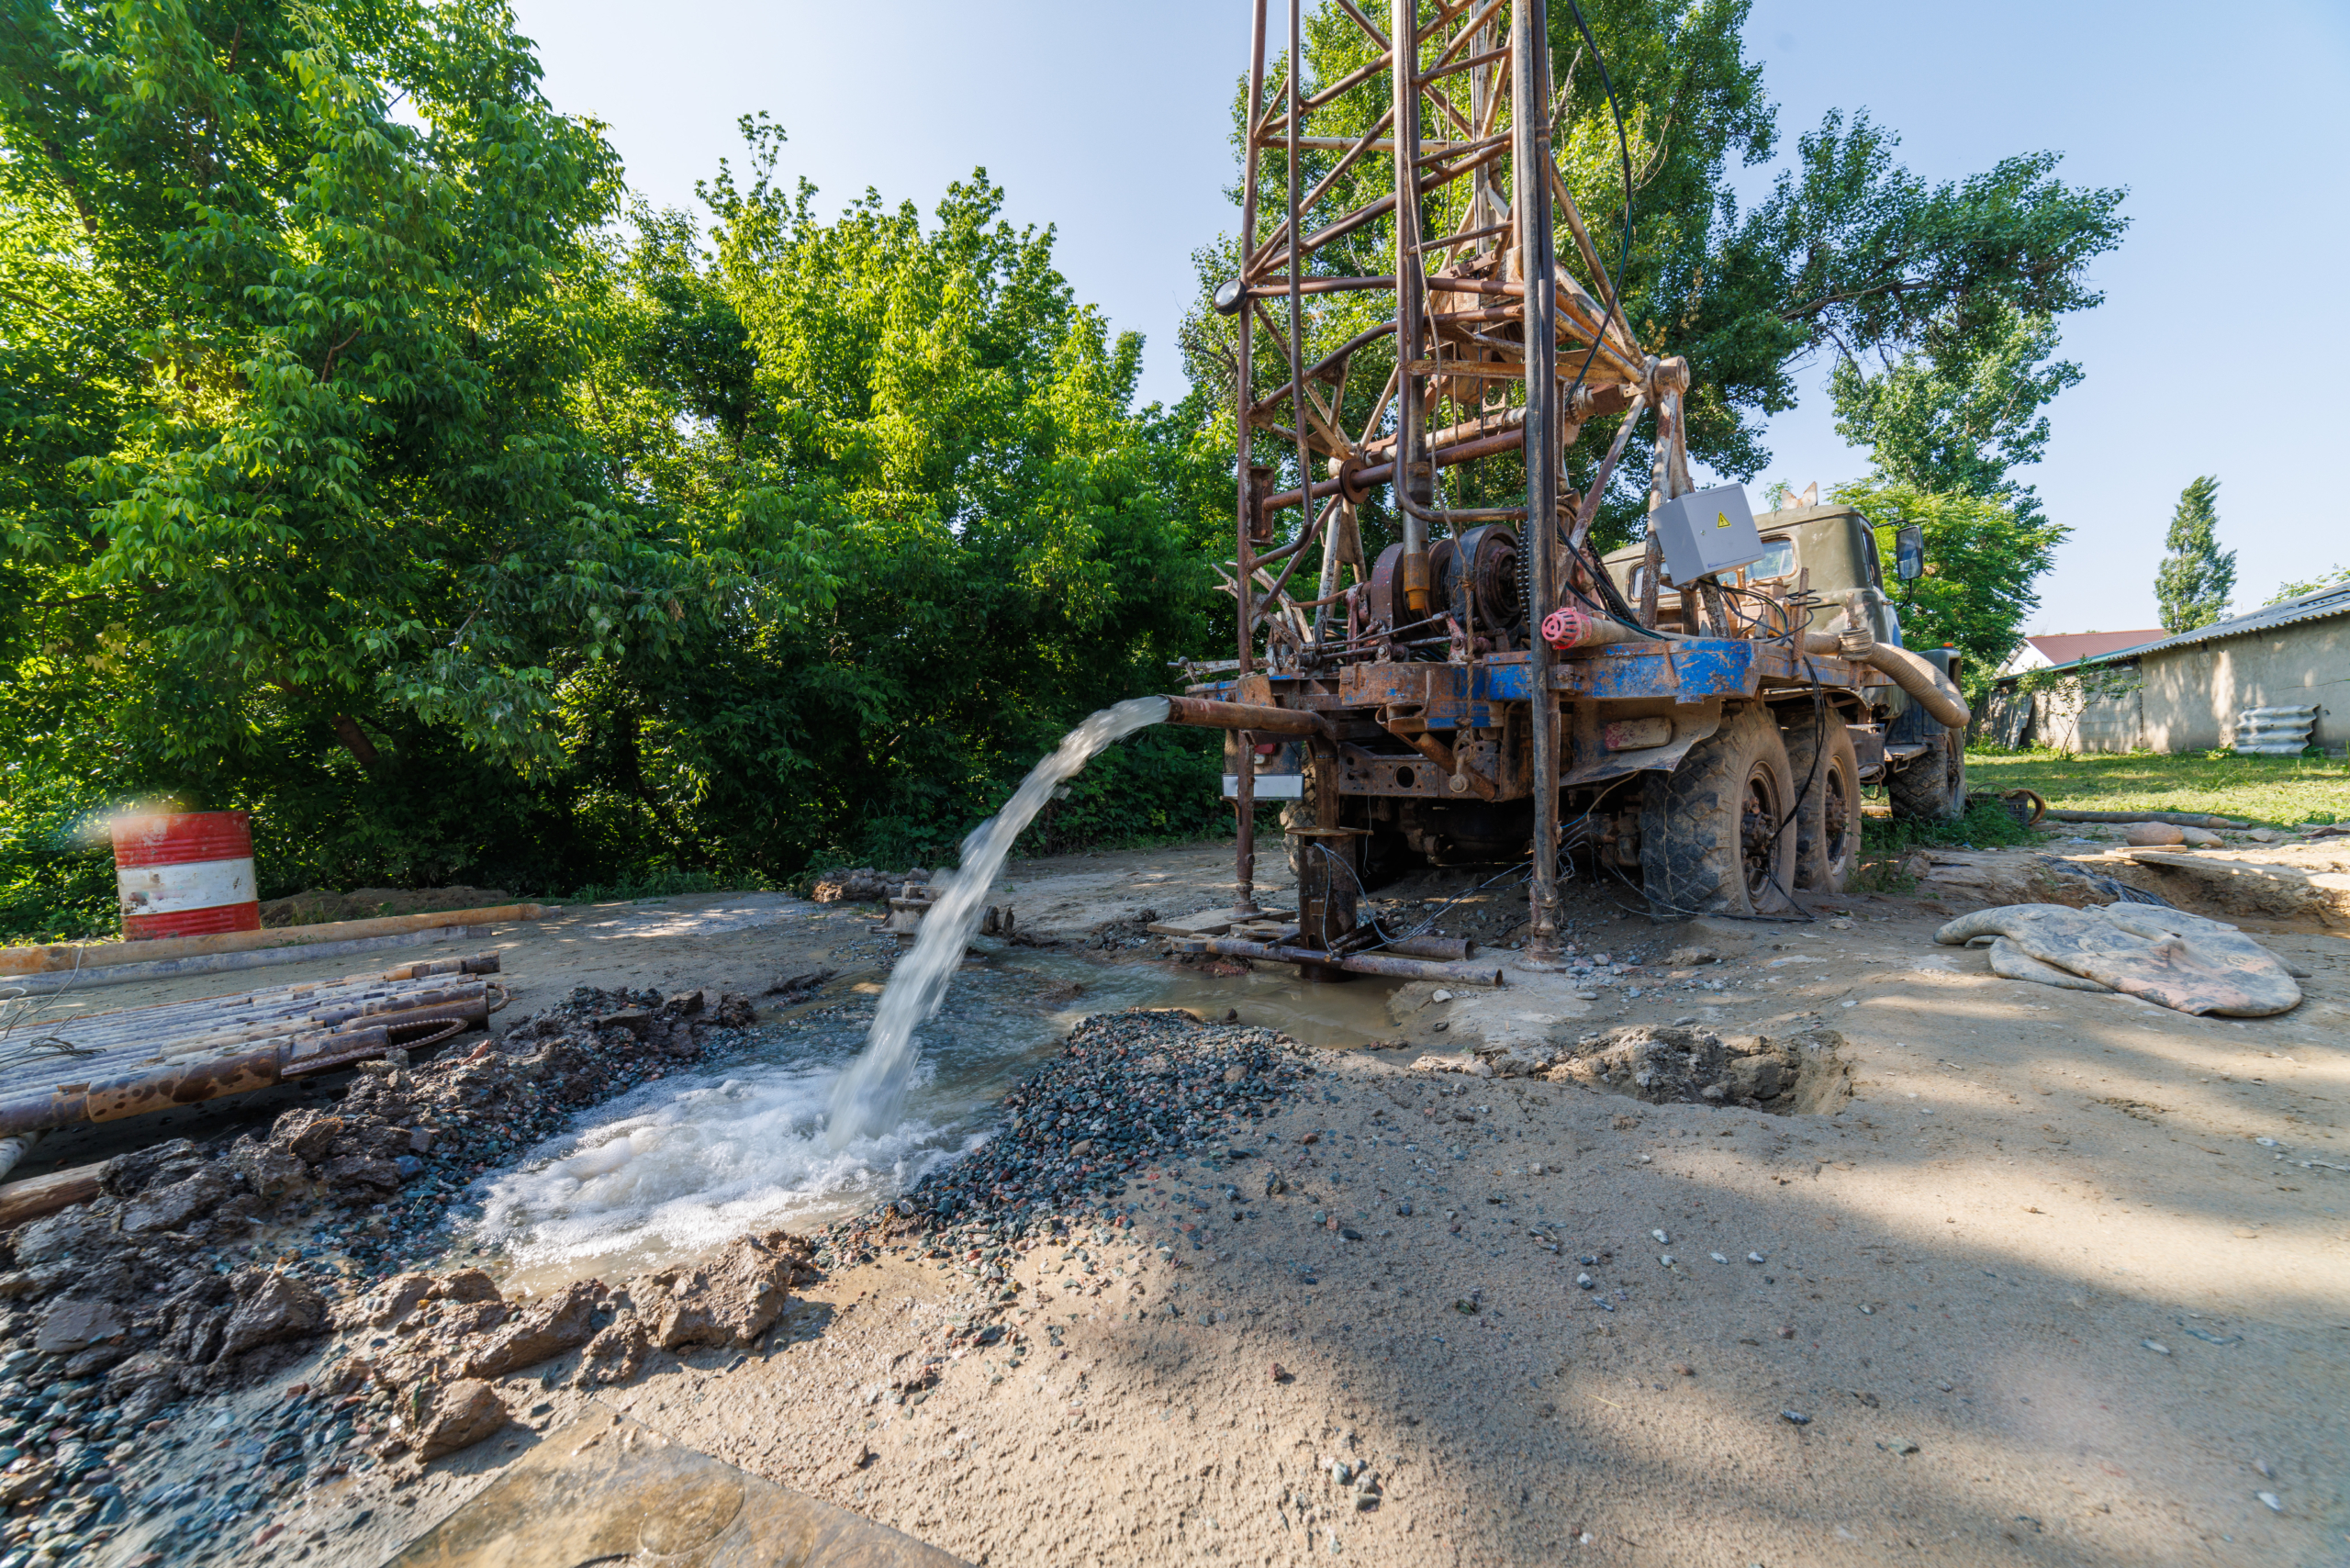
Drilling the Well
The actual drilling can take anywhere from a few hours to several days, depending on the depth and ground conditions. A rotary drill bit is attached to a rig, which bores into the earth, creating a narrow but deep hole. The goal is to drill through the earth’s layers until you hit the water table. Once water is reached, the drill may go deeper to ensure a consistent flow.
Casing and Sealing
After the well is drilled, a casing—typically a long pipe—is inserted to prevent the sides from collapsing. This pipe also protects the water from contaminants that could seep in from above. A sealant is applied around the casing to make it watertight and prevent surface water from entering the well.
Developing and Testing the Well
Getting the well drilled is only half the battle. You’ll need to develop the well, flushing it out and making sure it’s clean and free from debris. Once the water starts flowing, it’s tested for quality and contamination, ensuring it’s safe for drinking and other uses.
Flushing and Cleaning
After drilling, the well will need to be flushed to clear out any sediment or debris left over from the drilling process. This ensures a clean water supply when the well goes into use.
Water Quality Testing
Testing your well water is critical. A professional lab will test for bacteria, chemicals, and minerals to make sure your water is clean, safe, and potable. Regular testing is recommended to ensure your water quality stays high over time.
Costs and Maintenance of a Well
Drilling a well is a major investment, but the costs don’t stop once the water starts flowing. Maintenance is key to keeping your well in good condition for years to come.
What Influences the Cost of Drilling a Well?
The cost of drilling a well depends on several factors, such as the depth, soil composition, and the type of well being drilled. Shallower wells cost less, while deep wells—especially those that require heavy-duty drilling—can push the price tag higher.
Depth and Materials
Deeper wells naturally cost more because they require more time and resources to drill. Additionally, high-quality casing and sealants are needed to ensure the well is durable and long-lasting.
Post-Drilling Expenses
After the well is drilled, expect additional costs like water testing, pump installation, and the electricity or fuel to power the pump. Long-term maintenance will also add to the overall expense.
Maintaining Your Well
Wells aren’t set-it-and-forget-it systems. Regular maintenance is essential to keeping the water clean and ensuring a steady flow.
Regular Inspections and Testing
You should schedule annual inspections and water quality tests to catch any issues early. Filters and pumps may need replacing over time, and checking for potential contamination or mechanical problems is key to avoiding bigger issues down the line.
Conclusion and FAQs
Drilling a well is an investment in your property and your lifestyle. It provides self-sufficiency, long-term sustainability, and a reliable water source. While the process may seem complex, it’s a manageable and rewarding endeavor with the right planning. From choosing the perfect location to regular maintenance, every step is essential to ensuring a well that lasts for decades.
The time it takes to drill a well depends on the depth and ground conditions. On average, it can take anywhere from one to five days.
Technically, yes, but it’s not recommended. Drilling a well requires specialized equipment and expertise, not to mention permits and regulations. Hiring a professional is the safest and most reliable option.
Well depth varies depending on the water table in your area. Most residential wells range between 100 and 500 feet deep, but this can vary greatly based on location.
You should inspect your well annually to ensure everything is in working order. Water quality testing should also be done at least once a year.
Common well issues include pump failure, contamination, and declining water levels. Regular maintenance can help prevent these problems before they become serious.